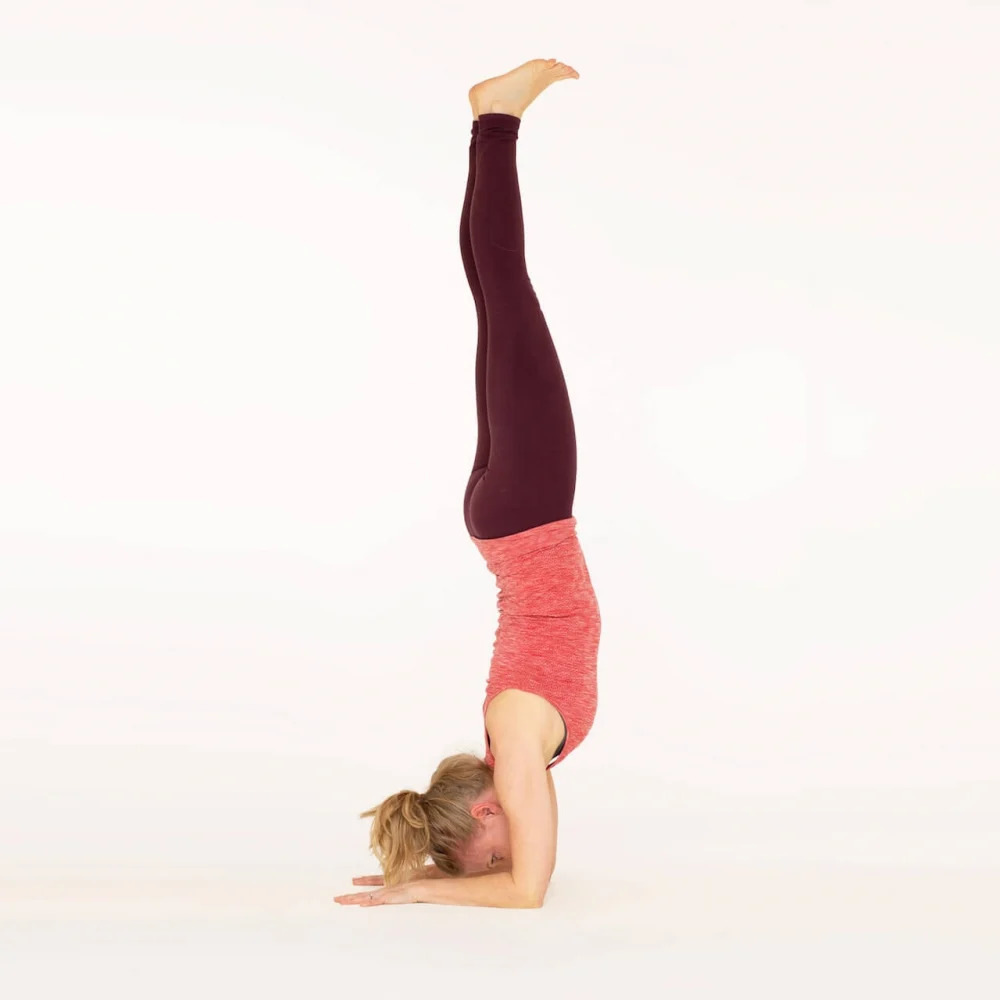
Step by step
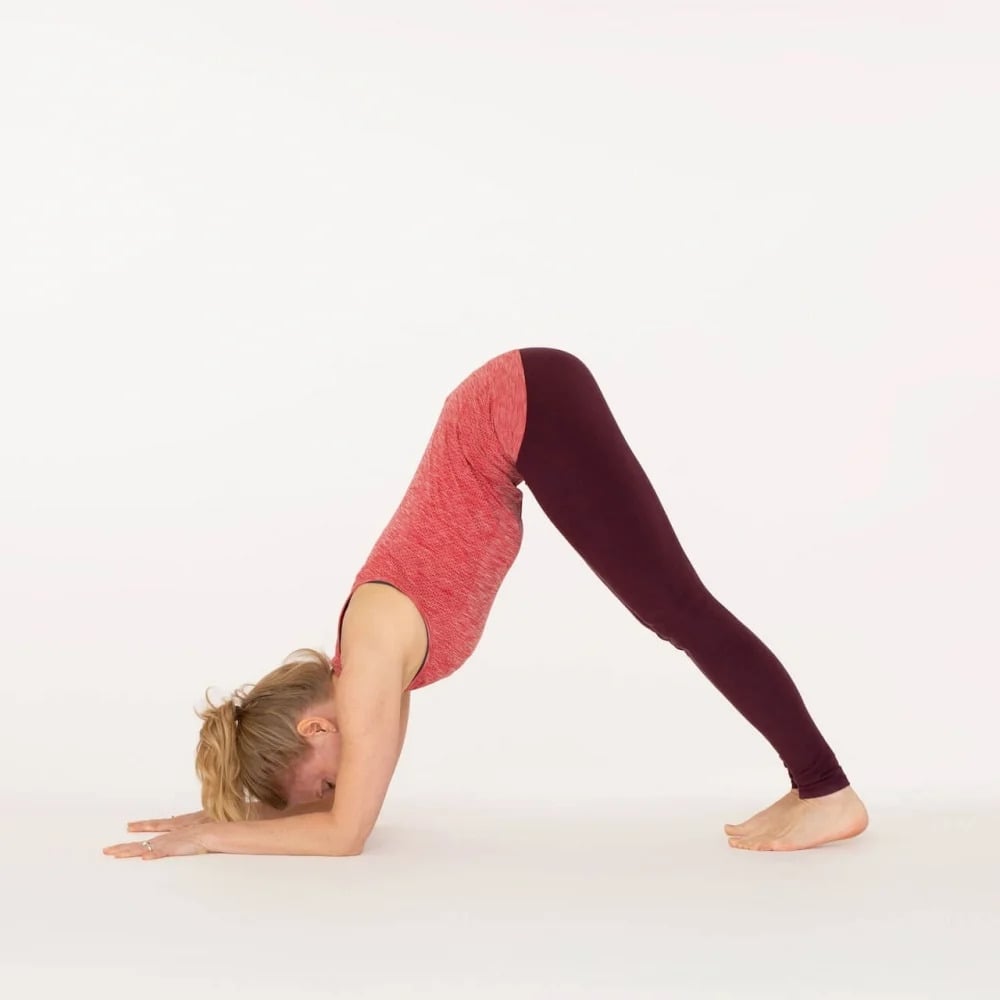
- Start your Headstand journey by practising Dolphin pose. Once you are able to stay in Dolphin for 25 breaths, you can start working towards Headstand. However, we recommend working with a teacher who can guide you in person. The following instructions are not intended for beginners to Headstand.
- To find the right head placement on the floor, place the heel of your hand on the bridge of your nose and notice where your middle finger reaches the head. That’s the spot you want to place on the floor.
- Start in all fours, your elbows directly under your shoulders.
- Take hold of the elbows with the opposite hands to ensure that your elbows are shoulder-width apart.
- This alignment is essential to build the right foundation for your pose and access your upper body strength.
- Tuck your toes under and come up into Dolphin. Bend your knees if needed, to find length in the spine.
- Interlace your fingers, tucking the bottom little finger in. Snuggle your head in your hands. Root the forearms in the floor. Tuck your toes and lift your hips up. Keep your knees bent if you need to.
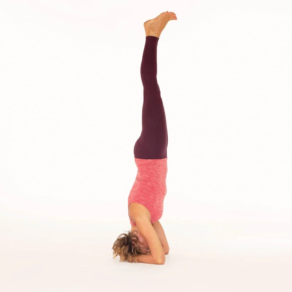
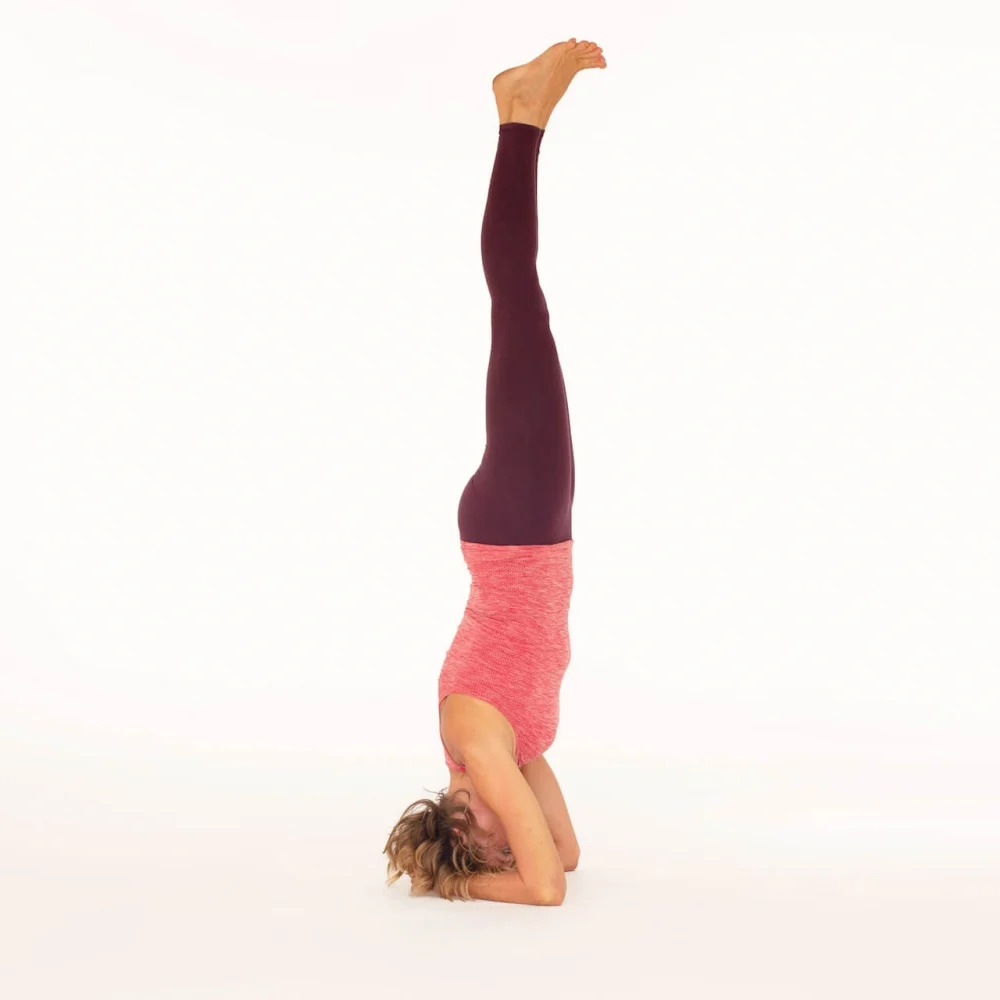
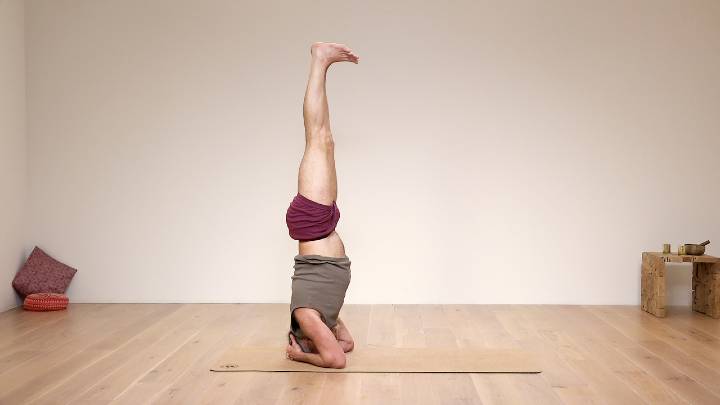
- Bend one knee into the chest, then the other knee, keeping most of the weight in your arms. On an inhalation bring your legs up in line with the rest of the body: hips above shoulders and ankles above hips.
- While in Headstand, lengthen the tailbone up towards the heels. Root your elbows down and knit your ribs in.
- Breathe.
- To come out of the pose, bend your knees and bring your feet to the buttocks, knees to the chest, and with control place your feet back on the floor. Rest in Child’s pose.
Beginners’ tips for Headstand
- Headstand is a controversial pose. While it is known as the King of Poses because of its reported benefits, some teachers feel the weight on the neck is too great a risk and no longer teach it for that reason.
- These instructions are meant as a guide only and we recommend practicing in the presence of a teacher who can help you with your alignment.
- Whether you choose to practice the full pose or not, building up strength in the arms, shoulders and core first is essential preparation. Practice a class such as Nichi Green’s Headstand prep or Sandra Carson’s Headstand 101. This preparation work will help you with your whole yoga practice and in many ways is more challenging than being in Headstand – so be patient!
- Core strengthening work will help with all inversions. Simply holding Plank pose and Downward Dog for 1 to 2 minutes is a great place to start. Next, work on Dolphin pose, and then Forearm balance or Handstand to get used to being upside down without any weight on the neck.
Benefits
- Draws fresh blood into the upper body while stimulating drainage and circulation to the legs.
- It quietens the mind and so prepares you for meditation.
- Strengthens the arms, core, legs and back.
- Improves mood for many people.
What to watch out for in Headstand
- Don’t attempt Headstand if you have any neck, spine or shoulder problems.
- Inversions such as Headstand (poses where your heart is above your head) are not recommended if you have high blood pressure or glaucoma.
- Some women prefer not to practice inversions like Headstand while they are menstruating as this goes against the natural flow – Read Should you practice yoga when you have your period?
- With the right alignment, Headstand should feel light, and your neck should feel uncompressed and long. If it doesn’t, keep the weight in your arms and keep strengthening your foundation.
- Legs up the wall pose is a good alternative which still provides many benefits that inversions offer.
Variations
- You can practice half-Headstand with one or both of the legs at 90 degrees parallel to the floor.
- There are several leg variations including bringing the soles of the feet together and knees out, Garudasana (Eagle pose) legs, or into Lotus pose – known as Padmasana Sirsasana or Urdhva Padmasana.
- Try the following classes for more advanced Headstand variations: Headstand 201 and Headstand 301 with Sandra Carson

