Parivrrta Trikonasana – Revolved Triangle Pose – is the third pose in the Ashtanga Primary series. I’ll go through some of the teaching points and also what I’ve learnt about the pose in my own practice.
There’s a lot going on in the pose so I like to teach it in two parts.
How to do Parivrrta Trikonasana
1. Setting up and the forward fold
- Start with your feet hip-width apart at the front of the mat. Set up two blocks either side of your feet. Although in Ashtanga Vinyasa Yoga props are not usually used, it can be helpful to practise this pose with blocks sometimes to understand the mechanics of it.
- Step the left foot back, about the distance of the length of your leg. Turn your back heel in slightly.
- Turn the hips so that they are facing the same direction as your right foot.
- Inhale, lengthen and feel the tailbone is moving down.
- On your exhale you fold forwards. Placing your hands on the blocks if you are using them.
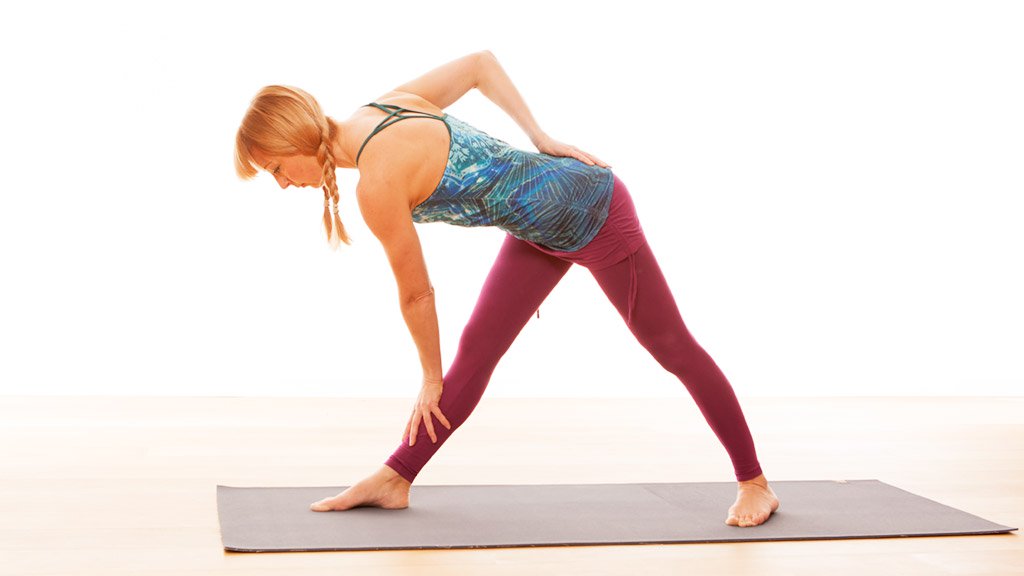
- We are lengthening the spine forward, so that the upper body is parallel with the floor, rather than folding it down to the leg. Bring your chin down to extend the back of the neck.
- As the spine lengthens forward, the right sit bone moves backwards.

2. The Twist
- For the second part of the pose we move into the twist of the posture, still moving the torso forward. Bring the left hand over to the right block or on to your shin. Eventually you can place the left hand to the outer edge of the right foot.
- Bring the right hand on your lower back, use this to get a sense of whether your hips are still level.
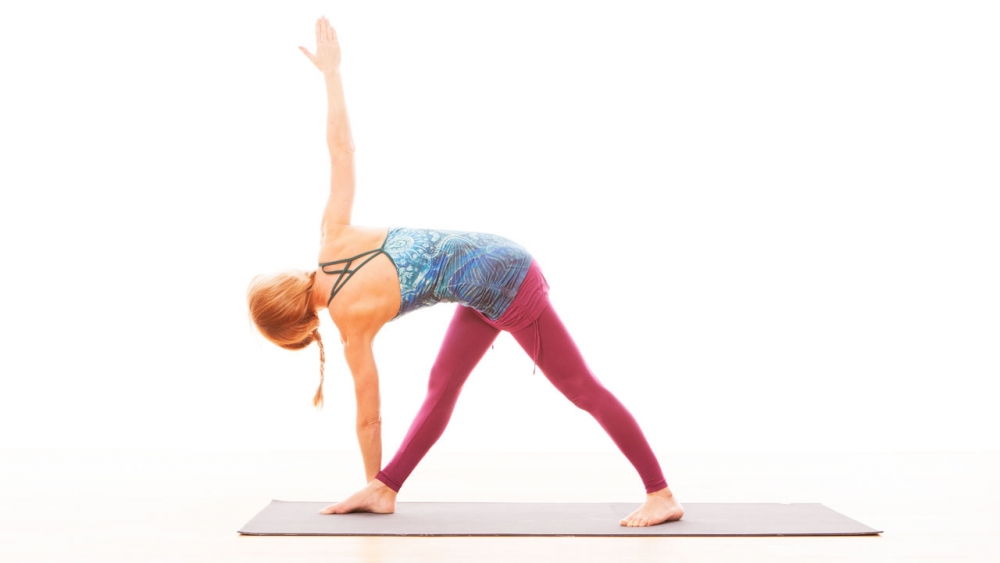
- Exhale, turn the torso and lift your right shoulder up.
- The final part of the pose is to lift the right arm up and then, if you are steady, to turn the head to look up.
- Stay here for five breaths before repeating on the other side.

Practise this with me in Class 2 Ashtanga Yoga for Beginners Standing Poses (for members). Where I go through the pose step by step, including the transition into it from Trikonasana.
What I have learnt about this pose
That it is a very difficult one! After 16 years of doing this pose it doesn’t get any easier but I love the feel of it and the fact that it challenges me. I’ve learnt that if I grip outer thighs in slightly it helps me engage the bandhas and stabilise the hips. I have to work from my feet, spreading the front toes and actively drawing the energy of the foot back. I really have to focus on lengthening the buttock back in the leading leg and lengthen the torso forwards from the pelvis. It’s often difficult to know in this pose if your alignment is ok. It’s easy to be off with it.
What I notice when teaching my students
If the legs are weak then students find it impossible to stabilise the hips. They get very wobbly in the pose! Again they grip with the toes and lose length in the torso as soon as they start twisting. I often find that it’s better to work on lengthening the torso and staying stable in the legs before twisting. The hip drops on the opposite leg but it’s hard for them to know when the hip is dropping or lifting. Women often find the hip alignment harder in this pose because they have more flexibility often in the lower back and hips.
Extra tips
Work a lot on your forward bends before attempting the full version of this pose. If your hamstrings are tight you might have to initially bend the front leg slightly. Practise in front of a mirror or get a friend to take a picture from different angles so you can see how the pose looks.
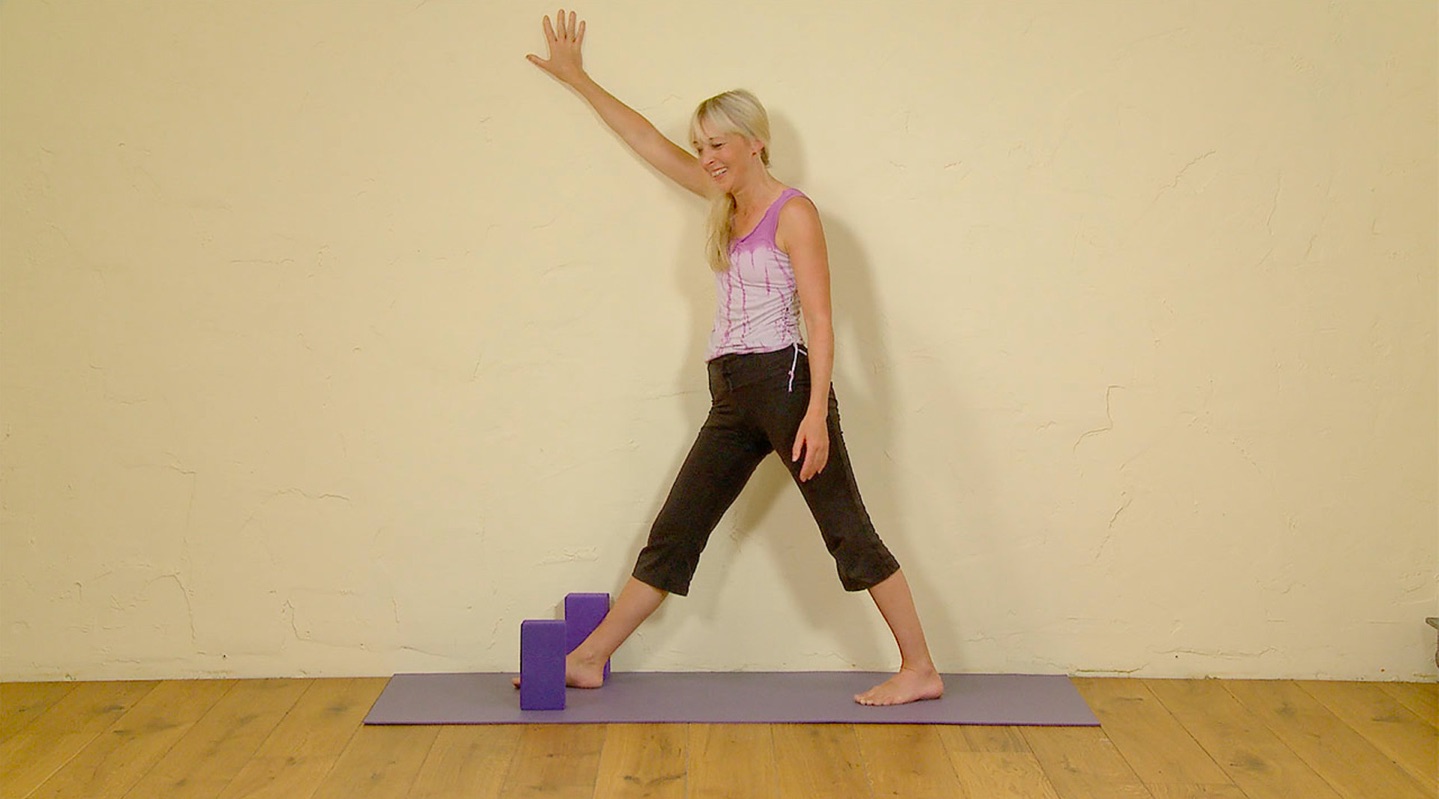
Watch my class below for a tutorial using a wall and blocks as a prop to help with stability and the twist.


